News
Sharpening
01 September 2020
Article by James Zjalic (Verden Forensics) and Foclar
Problem
Digital imagery can often suffer from a relatively poor focus on the feature of interest, making it difficult to interpret the true characteristics of such. For example, is an object held in the hand of a subject a knife or a phone? Increasing feature detail can aid in allowing more reliable interpretations to be made and improve imagery for general presentation purposes, even if the feature characteristics are already visible.
Sharpening is an operation used to highlight transitions in pixel intensity values and thus, the visual separation between feature edges.
Cause
The need for sharpening essentially stems from the poor separation between features within digital imagery. As digital imagery is finite, the analogue to digital conversion is imperfect and so in regions of transition within the dimensions of single pixel neither colour is represented correctly, resulting in blur [1]. This is further compounded by other events, such as:
- Compression.
When digital imagery is compressed, high-frequency detail is attenuated, and in some instances completely removed, depending on the encoding format and degree of compression applied. This is to aid in smaller file sizes as data as reducing unique values through replication of the pixel intensity values of similar regions, the less information which has to be stored. - Camera movement.
When cameras move (either through camera shake or manual movement), features are convoluted when represented as pixels leading to little separation. - Movement with the scene.
When there is movement within a scene (for example an individual running), the features are convoluted as with camera movement. - Image processing artefacts
The application of a deblur operation to remove noise within an image can reduce the disparity between local pixel intensity values, and thus reduce the contrast at edges. - Camera lens settings
A camera lens which is not properly configured for the scene which it is capturing can cause lens blur by convolving pixels which represent objects within a scene. - Point Spread Function
The point spread function relates to the spreading of light from a point source, which can result in the source covering a wider range of pixels than it should to represent the environment correctly, resulting in convolving pixels, as above [2]. - Anti-aliasing
Cameras tend to employ anti-aliasing filters which can cause Moir patterns in fine detail regions, resulting in edges which are less defined.
In the best-case scenario, a subject will be stationary, and the compression is the only factor reducing the disparity between local pixel values (and thus visual sharpness). In the worst scenario, all of the above factors are present, which in some cases can lead to imagery which no amount of sharpening can improve.
Theory
Sharpening is achieved through spatial differentiation, which is essentially the opposite of the pixel averaging applied when blurring. It enhances edges and other discontinuities throughout an image, including random noise (which is classed as differences in intensity between a pixel and its neighbour and is expected to be spatially uniform). For this reason, noise must be removed prior to sharpening. The operation emphasises regions in which there are rapid transitions in intensity and de-emphasises those with slow transitions. Edges are often ramp like transitions in intensity, whilst the body of an object is usually a generally consistent intensity which occupies a small range (see Fig. 1).

All sharpening functions are high pass filters as they remove low frequencies (slow transitions between pixel intensity values) while preserving high frequencies (rapid transitions between pixel intensity values.
Care should always be taken when performing sharpening operations as a) over-sharpening can create unnatural representations of fine details, which can lead to halos of brightness around edges and b) it can increase noise within an image which leads to a reduction in clarity (see Fig. 2). To mitigate against the occurrence of halos, the examiner should always compare the input and output to achieve a balance of a natural representation of the object while increasing the clarity. To prevent the second, sharpening should always be performed after de-noising, and should usually be the last processing operation performed. The application of a sharpening process always requires a balance between managing background noise whilst increasing the definition of feature edges.

Solution
Unsharp masking is one of the oldest methods for sharpening the contents of an image. The process subtracts an unsharp (or blurred) version of the original image from the original, causing intensity transitions to become emphasised by producing greater local contract whilst maintaining the overall variation brightness [3], [4]. Within digital imagery, the process is as follows:
- Make a copy of the original imagery and apply a gaussian blur;
- Subtract the blurred imagery from the original, resulting in a ‘mask’;
- Add the mask to the original image.
The amount of subtraction applied determines the degree of sharpening, and this is often the only variable which the user needs to manipulate to ensure optimal results. The drawbacks of the method are that it is extremely sensitive to noise due to the linear filter used, and enhancements high contrast region more than lower contrast regions. This can be an issue if the desired area for enhancement is of a moderate contrast in comparison to other areas [5]. Over-sharpening can be identified by jagged edges and increase levels of noise within an image.
A second method is the use of a kernel, which is a matrix of numbers used to generate new pixel values based on a weighted average of the surrounding pixels. The kernel size and composition can be adjusted to result in differing degrees of sharpening by increasing the difference between pixels [6].
All sharpening processes have to be performed on a converted colour space, as if applied directly to an RGB representation the value of each colour will change, causing a shift in the hue. By processing the imagery in colour spaces such as HSI, YUV or LAB, the disparity of the intensity values can be increased while maintaining the hue and saturation, before the image is converted back to RGB [7].
Implementations
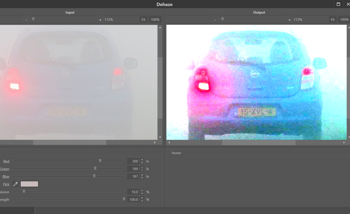
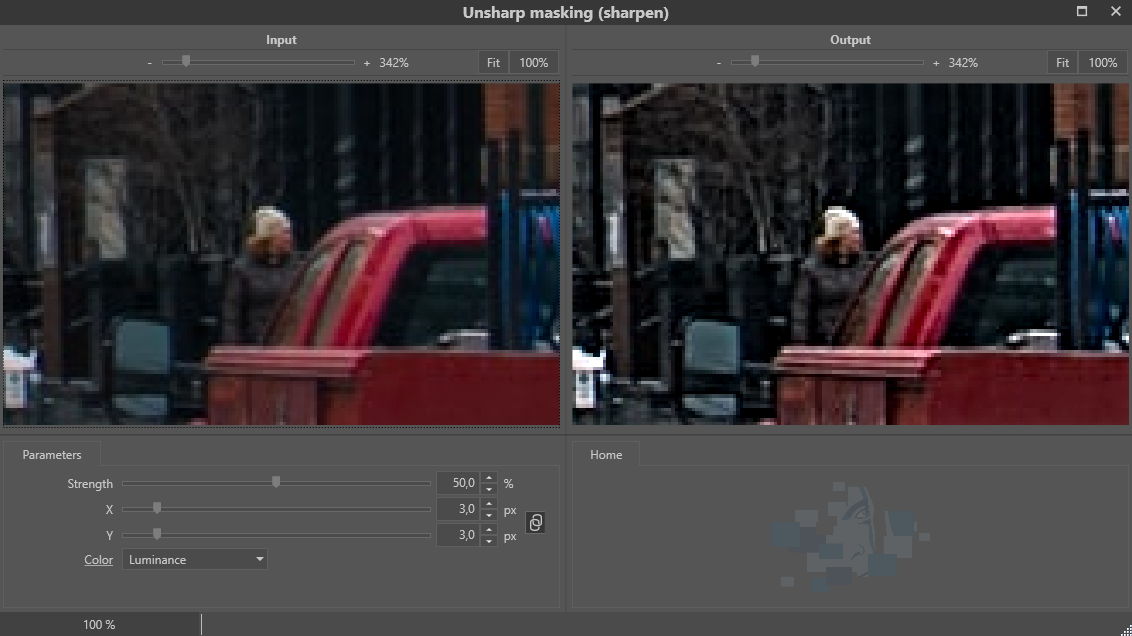
The sharpen filter in Impress (see [8] and [9]) implements the algorithm described in the solution (steps 1-3). Details of the filter are shown in Fig. 3. The parameters X and Y control the amount of blurring performed in step 1 of the above described algorithm. The parameter strength controls the subtraction of the blurred image in step 2 of the algorithm. To avoid colour shifts, the filter has the option to filter the luminance signal only (see Fig. 4) with parameter color.

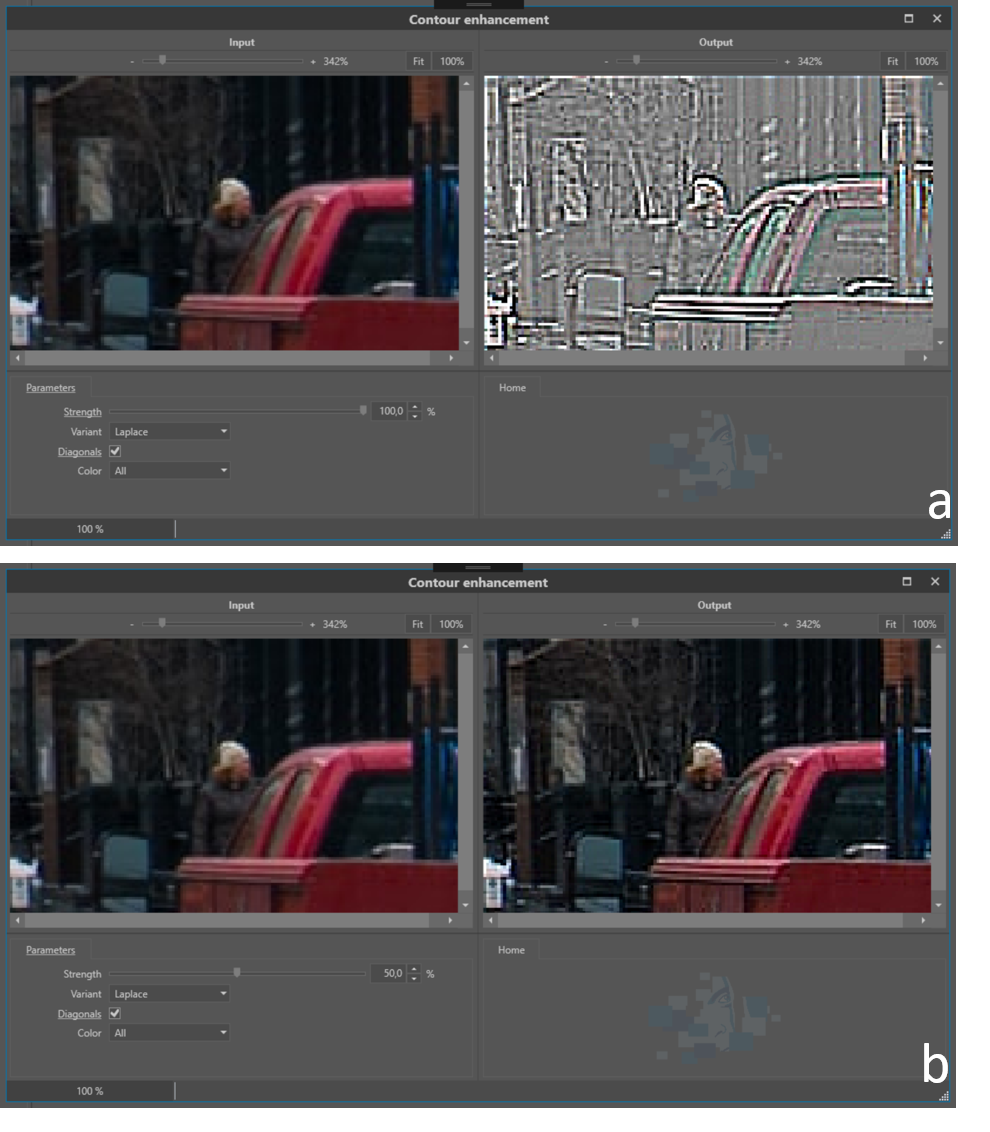
Besides unsharp masking Impress also offers the contour enhancement filter [10] shown in Fig. 5. The filter uses kernels to emphasize contours in an image. The filter offers variants, each having specific kernels (Laplace, Mexican Hat, Prewitt and Sobel. The parameter strength controls the mixing of the contour image (see Fig. 5 (a)) with the original image.
Conclusion
Image sharpening is an effective operation for emphasising objects. When performing the process care must be taken, since the side-effects of the filter (e.g. increase of noise and halo’s) might overrule the benefits.
References
[1] M. Wirth and D. Nikitenko, “The Effect of Colour Space on Image Sharpening Algorithms,” in 2010 Canadian Conference on Computer and Robot Vision, Ontario, Canada, 2010, pp. 79–85, doi: 10.1109/CRV.2010.17.
[2] M. S. Millán and E. Valencia, “Color image sharpening inspired by human vision models,” Appl. Opt., vol. 45, no. 29, p. 7684, Oct. 2006, doi: 10.1364/AO.45.007684.
[3] Rafael C. Gonzalez and Richard E. Woods, Digital Image Processing, 3rd Edition. Pearson, 2007.
[4] Leo Levi, “Unsharp Masking and Related Image Enhancement Techniques,” Comput. Graph. Image Process., vol. 3, pp. 163–177, 1974.
[5] A. Polesel, G. Ramponi, and V. J. Mathews, “Image enhancement via adaptive unsharp masking,” IEEE Trans. Image Process., vol. 9, no. 3, pp. 505–510, Mar. 2000, doi: 10.1109/83.826787.
[6] Spencer Ledesma, “A Proposed Framework for image enhancement,” University of Colorado, Denver, 2015.
[7] John C. Russ, Forensic Uses of Digital Imaging. CRC Press, 2001.
[8] Sonka M. Hlavac V. Boyle R. (1999) Image Processing, Analysis and Machine Vision, p79, Brooks/Cole Publishing Company
[9] R. Szeliski (2011) Computer Vision, Algorithms and Applications, p103 Springer
[10] Sonka M. Hlavac V. Boyle R. (1999) Image Processing, Analysis and Machine Vision, p81, Brooks/Cole Publishing Company